Chicken Incubation Day By Day
A day-by-day chicken incubation timeline for setup, early development, candling, lockdown, hatch day, and the first move to the brooder.
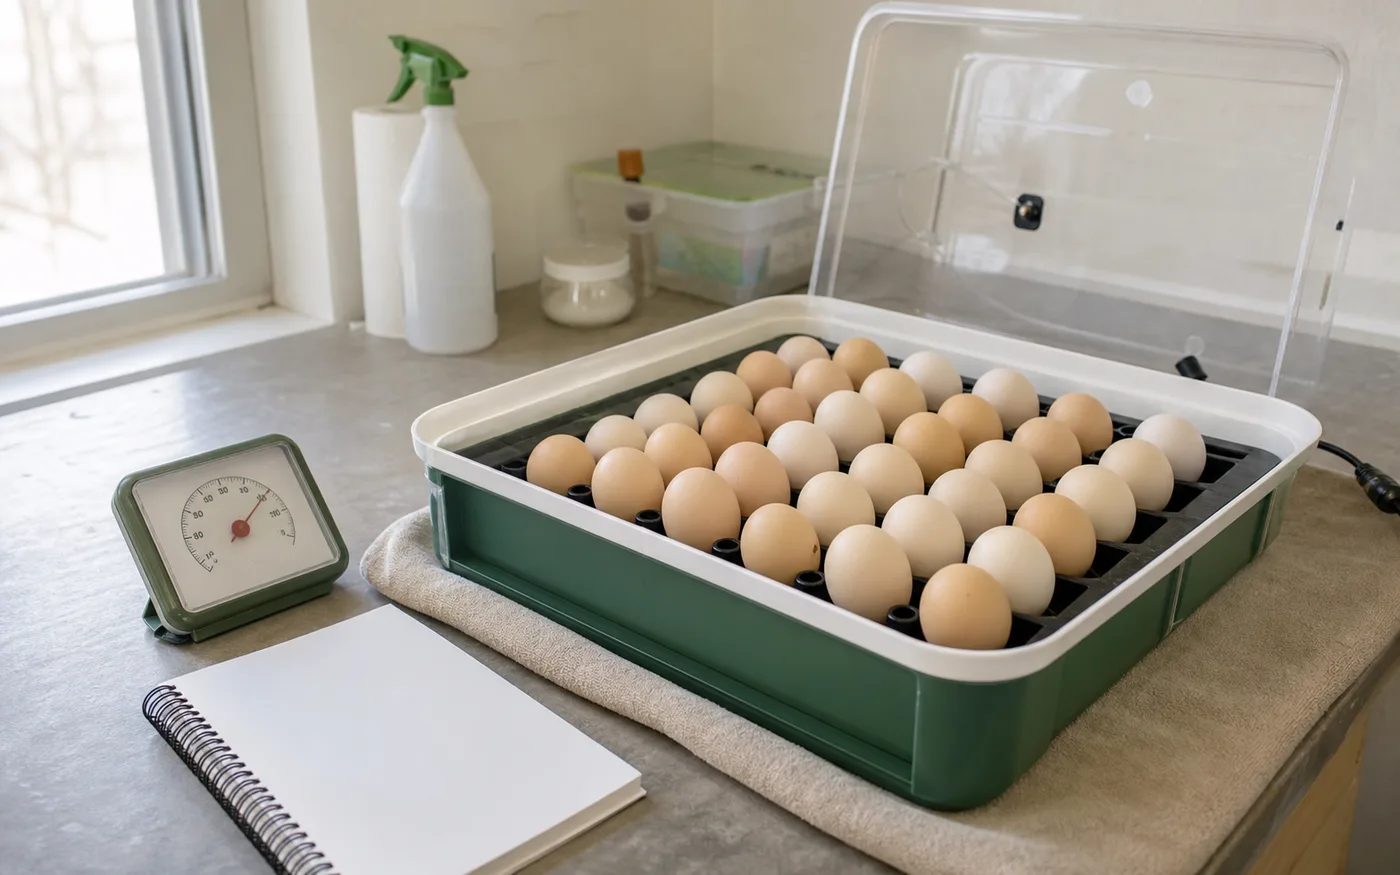
Show the dated plan before eggs are set.
The daily care stage, where the same chicken hatch feels different as the embryo moves from invisible development to visible candling signs and finally hatch behavior.
Open Hatch CalculatorQuick Answer
Chicken incubation is usually planned around 21 days. Days 1 to 7 are about stable conditions, regular turning, and the first visible development. Days 8 to 17 are about continued turning, air-cell growth, and a second check before lockdown. Around day 18, stop turning and move into lockdown. Days 20 to 21 are usually the pip, zip, hatch, and drying window. Use the timeline as a guide, but judge the batch by temperature history, candling evidence, air-cell size, and whether the hatch is early, late, or simply still resting.
What matters most
Before day 1
The timeline starts before the eggs are warm. Test the incubator, choose good eggs, confirm the room, write the set date, and make sure the brooder plan exists. A clean start makes the daily timeline easier to trust.
- Run the incubator empty and check readings before setting eggs.
- Reject cracked, leaking, very dirty, or badly misshapen eggs.
- Write the expected candling, lockdown, hatch, and review dates.
Days 1 to 3
Early development is mostly invisible from the outside. Your job is to avoid big swings, keep turning consistent, and resist unnecessary opening. Do not expect dramatic candling signs yet.
- Set eggs gently and confirm the turner or hand-turning plan.
- Watch for prolonged high or low temperature, not every small cycle.
- Keep notes if the incubator behaves differently than it did during the empty test.
Days 4 to 7
By the end of the first week, veins are often visible in fertile chicken eggs. This is the first useful proof-of-life checkpoint, but poor lighting, dark shells, or cool early conditions can make judgment harder.
- Candle around day 7 in a dark room.
- Look for veining, a developing embryo, and clear eggs.
- Mark uncertain eggs for recheck instead of guessing too quickly.
Days 8 to 14
The embryo grows quickly during the middle of incubation. The egg should look more filled at candling, and the air cell should be growing as moisture leaves the egg. Turning still matters.
- Continue turning until lockdown.
- Use the day 14 candle to compare growth against day 7 notes.
- Watch for air cells that look much too large or too small.
Days 15 to 17
This is the preparation stretch before lockdown. Avoid making dramatic setting changes without evidence. Confirm the lockdown date, clear space for hatching, and make sure the brooder supplies are ready.
- Confirm the turner removal plan before day 18.
- Top up water and adjust vents according to the incubator manual.
- Prepare the brooder before the hatch window starts.
Day 18 lockdown
For chicken eggs, day 18 is commonly used as lockdown. Stop turning, set up the eggs for hatch, move toward lockdown humidity, and reduce lid openings so pipped eggs are not exposed to sudden drying.
- Remove or shut off automatic turning.
- Stop routine candling unless there is a clear reason.
- Expect less handling and more waiting from this point on.
Days 19 to 21
Internal pip, external pip, zip, hatch, and drying do not all happen at the same pace. Some chicks rest for many hours after pipping. The safest default is stable conditions and patience unless the situation clearly shows distress.
- Listen and watch without repeatedly opening the incubator.
- Move dry, active chicks to the brooder when the hatch window and setup allow.
- Record early, on-time, late, pipped, unhatched, and assisted chicks separately.
After hatch
The day-by-day guide is not finished when chicks emerge. Review the result while details are fresh. Timing, candling notes, air-cell history, and final hatch rate tell you what to repeat or change next time.
- Clean and dry the incubator according to the maker instructions.
- Log final hatch numbers and any late losses.
- Compare the actual hatch window with the planned day 21 timeline.
Reviewed against extension and veterinary sources. Adjust to your incubator manual and local conditions.