Chicken Egg Candling Guide
How to candle chicken eggs, what to look for, and when to avoid overreacting.
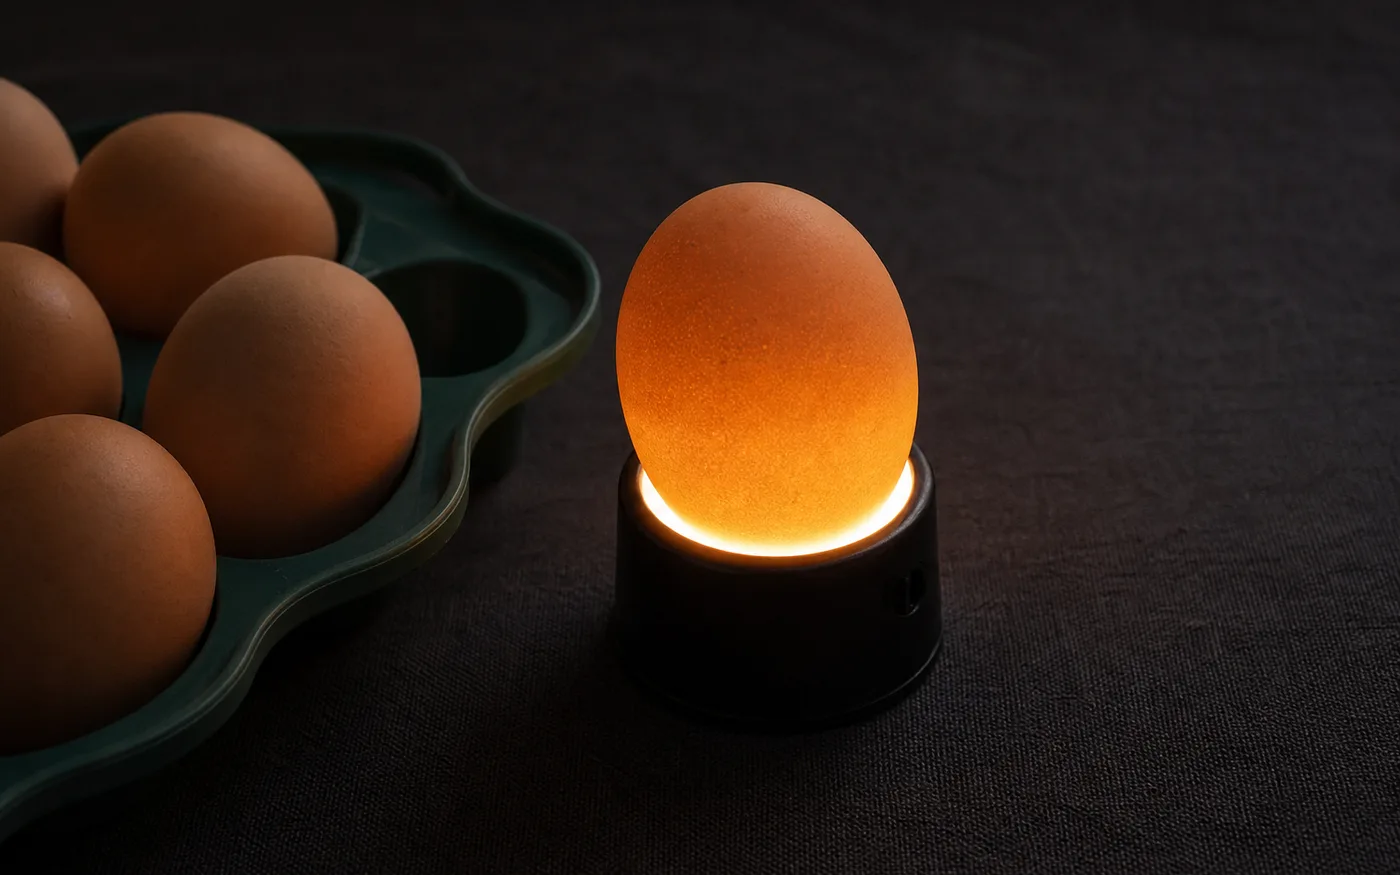
Show observation through the shell without graphic detail.
The first proof-of-life stage, when a quiet egg starts giving visual clues.
Save Candling NotesQuick Answer
Candle chicken eggs in a dark room with a bright candler, usually around day 7 and again near day 14. Look for veining, embryo shadow, air-cell growth, and obvious clears, but avoid making a final call from one uncertain glance.
What matters most
What a good candling check answers
Candling is not entertainment; it is a decision point. You are checking whether development is present, whether the air cell is changing, and whether any egg looks unsafe to keep in the incubator.
What to expect by stage
Around day 7, many developing chicken eggs show visible veins and a darker center. By day 14, the embryo usually fills more of the egg and movement may be easier to see. Dark shells, weak lights, and shipped eggs can make judgment harder.
- Clear egg: little or no visible development.
- Blood ring: a ring or settled blood line that can suggest early loss.
- Growing air cell: the air space becomes easier to see as moisture leaves the egg.
When not to panic
One odd-looking egg does not always mean the whole hatch is failing. If the egg is not leaking, smelling, cracked, or clearly dead, marking it and checking again can be safer than constant handling.
Reviewed against extension and veterinary sources. Adjust to your incubator manual and local conditions.