
Pipped Egg Not Hatching
What a pip means, normal waiting windows, and when conditions may be wrong.
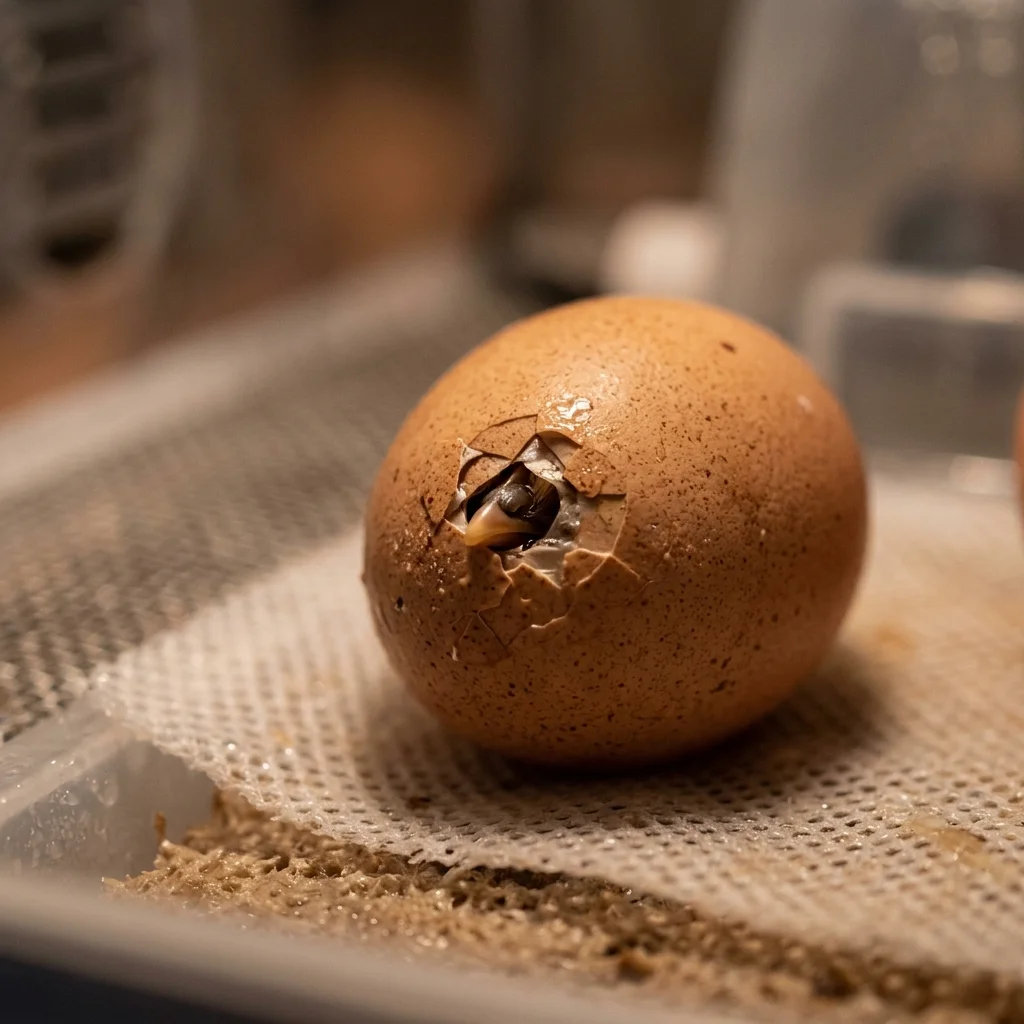
Show observation through the shell without graphic detail.
The tense waiting stage, when impatience can become the biggest risk.
Check Hatch DatesQuick Answer
A pipped egg does not always hatch immediately. Many chicks rest after the first pip before zipping, so the first job is to keep conditions stable and watch for the overall pattern. A normal rest pause after the first external pip lasts 12 to 24 hours; intervention is only warranted after 24 hours of zero progress.
What matters most
What this page helps you decide
This guide helps you decide whether a chick that has made its first crack (pip) is progressing naturally or is in immediate danger of suffocation or shrink-wrapping. The decision is choosing between leaving the incubator closed to preserve moisture or opening it to assist the chick.
- Leave the incubator closed if the pip occurred less than 24 hours ago and the chick is resting or chirping.
- Intervene only if the pip site shows dry, yellow/brown membrane or if 24 hours have passed with zero zipping progress.
- Preserve stable conditions for the rest of the batch if only one egg is delayed.
The Pip-to-Zip Hatch Timeline
Understanding the physical steps of hatching helps prevent premature intervention. The hatching process requires significant energy, and pauses are a normal biological requirement for the chick.
- Internal Pip: The chick breaks through the inner membrane into the air cell and begins breathing air. This is invisible from the outside but may be heard as faint clicking.
- External Pip: The chick breaks a small hole through the calcium shell. This typically happens on Day 20 or 21.
- Rest Period: The chick rests for 12–24 hours. During this time, it absorbs the remaining yolk sac and blood vessels from the membrane.
- Zipping: The chick cuts a circular path around the large end of the egg. Zipping takes only 30 minutes to 2 hours.
Step-by-Step Observation Protocol
Follow this sequence when monitoring a pipped egg to make a calm, evidence-based decision rather than reacting out of anxiety:
- Step 1: Write down the exact time the external pip was first spotted. Start a 24-hour log.
- Step 2: Check incubator indicators. Temperature must remain at 99.5 F (37.5 C) and humidity at 65%–75% RH.
- Step 3: Listen for chirping or clicking sounds, indicating the chick is active and breathing.
- Step 4: Inspect the pip hole. If the membrane is moist and white, the chick is safe. If it looks dry, yellow, or leathery, moisture is dropping.
- Step 5: Compare with other eggs. If a general hatch is occurring, do not open the lid under any circumstances.
Common Mistakes and Logging
Impatience is the leading cause of hatch failure at this stage. Keep precise records to identify patterns and avoid opening the lid.
- Mistake: Opening the incubator lid to check a pipped egg. This releases warm, humid air, instantly dry-shrink-wrapping other pipped eggs.
- Mistake: Helping a chick break out before it absorbs its yolk sac, resulting in fatal bleeding.
- Parameter to Log: Time of first external pip.
- Parameter to Log: Incubator humidity and temperature twice daily.
- Parameter to Log: Status of membrane color (white/translucent vs dry/yellow).
Reviewed against extension and veterinary sources. Adjust to your incubator manual and local conditions.