
Should You Help A Chick Hatch?
Calm decision guide for pips, zips, long waits, and risky assisted hatching.
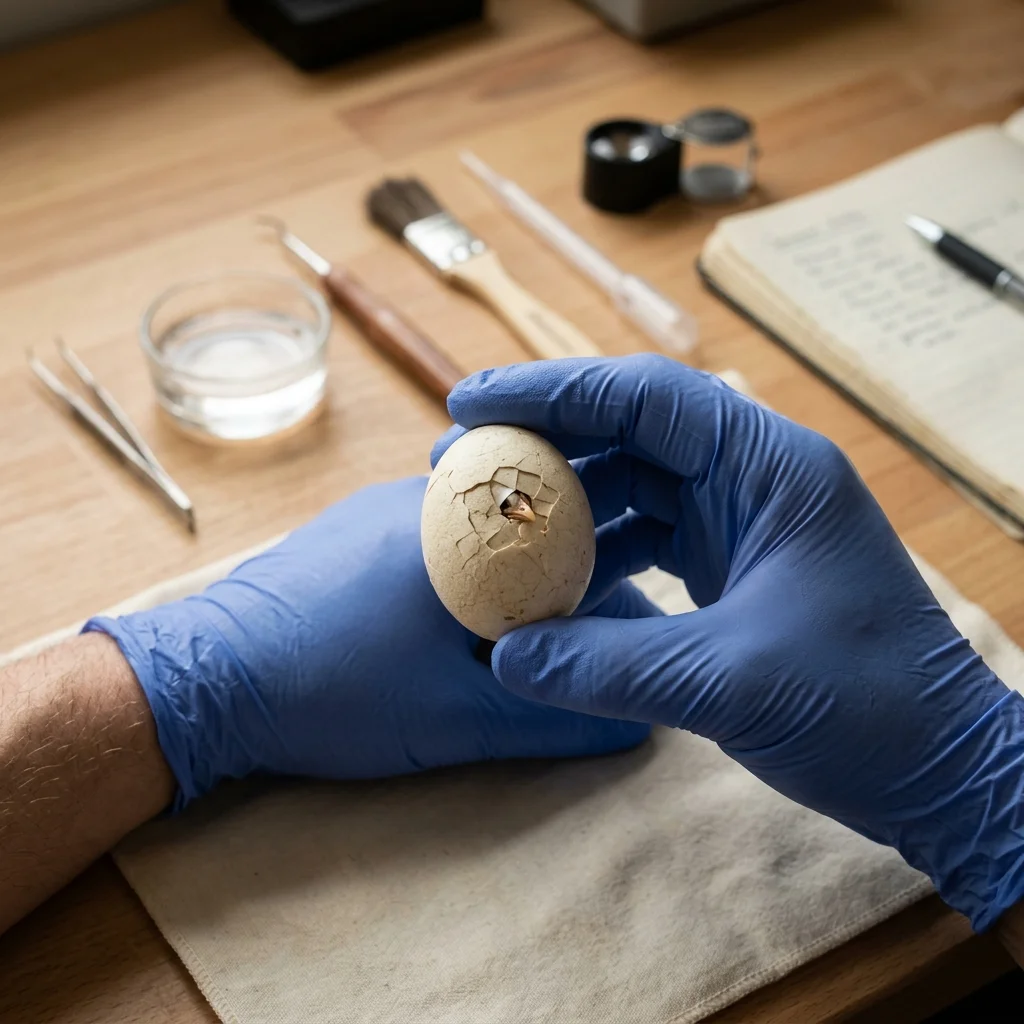
Show careful inspection before changing anything.
The hardest decision stage, when care means resisting the urge to act too soon.
Calculate Hatch RateQuick Answer
Helping a chick hatch can injure or kill it if done too early or without understanding what is happening. In most cases, stabilize the incubator, observe carefully, and only consider intervention when there is a clear reason. Wait at least 24 hours after the first external pip before intervening, and stop immediately if you see active blood vessels.
What matters most
What this page helps you decide
This decision guide helps you decide when and how to safely assist a chick that is struggling to hatch, and when intervention is more likely to be fatal. The decision is choosing between initiating a careful assisted hatch protocol or maintaining incubator lockdown.
- Choose lockdown if the external pip occurred less than 24 hours ago and the chick is vocal.
- Choose assisted hatch only if the chick has been stuck for 24+ hours at the same stage, the membrane is dry and yellow, or the chick is visibly weakening.
- Abort the assist immediately if you encounter any active red blood vessels or if the yolk is unabsorbed.
The Assisted Hatch Protocol
If you have made the decision to assist after a 24-hour wait, follow this strict sanitary protocol to minimize risk of infection and bleeding:
- Preparation: Work in a draft-free, warm room (at least 80 F / 27 C). Run hot water in a nearby sink or run a humidifier to keep ambient humidity high.
- Sanitize: Wash hands thoroughly and sterilize tweezers or a blunt toothpick.
- Air Cell Inspection: Locate the air cell (the wide end of the egg). Very gently peel away small pieces of shell ONLY over the air cell space.
- Moisten the Membrane: Dab warm water or sterile saline on the exposed membrane using a cotton swab. The membrane should turn translucent, making blood vessels visible.
- Check Blood Vessels: If you see red, active blood vessels running through the membrane, STOP. Moisten the membrane, place the egg back in the incubator, and wait 2 to 4 hours.
- Release the Beak: If the vessels are dried or brown, carefully peel the membrane away from the beak and nostrils to ensure the chick can breathe. Never peel membrane near the bottom half of the egg.
- The Final Kick: Once the head and one wing are free and no blood is present, place the egg back in the incubator. The chick must kick itself out of the bottom half of the shell to flex its legs and expand its lungs.
Common Mistakes to Avoid
Intervention has a high mortality rate because of common mistakes. Understanding these risks is crucial for chick survival.
- Mistake: Pulling the chick completely out of the shell. This bypasses the critical physical work that stimulates muscles and lung expansion.
- Mistake: Assisting too early, causing the chick to bleed to death from active umbilical veins or disrupting yolk sac absorption.
- Mistake: Leaving the egg out of the incubator for too long during inspection, causing the embryo to chill below 95 F (35 C).
Monitoring and Logging Parameters
Record the details of every assisted hatch to evaluate your technique and adjust incubator settings for future hatches.
- Parameter to Log: Time when shell removal was initiated.
- Parameter to Log: Presence of active blood vessels (active, receded, or dried).
- Parameter to Log: Status of yolk sac absorption (fully absorbed, partially exposed).
- Parameter to Log: Final chick outcome (hatched healthy, hatched weak, or deceased).
Reviewed against extension and veterinary sources. Adjust to your incubator manual and local conditions.