Incubator Cleaning And Storage
Post-hatch cleaning, deep sanitation, air drying, and off-season storage guidelines to prevent bacterial contamination.
Show readiness, setup, and maintenance.
The closing chapter, when the next hatch starts by cleaning up the last one.
Review Hatch RateQuick Answer
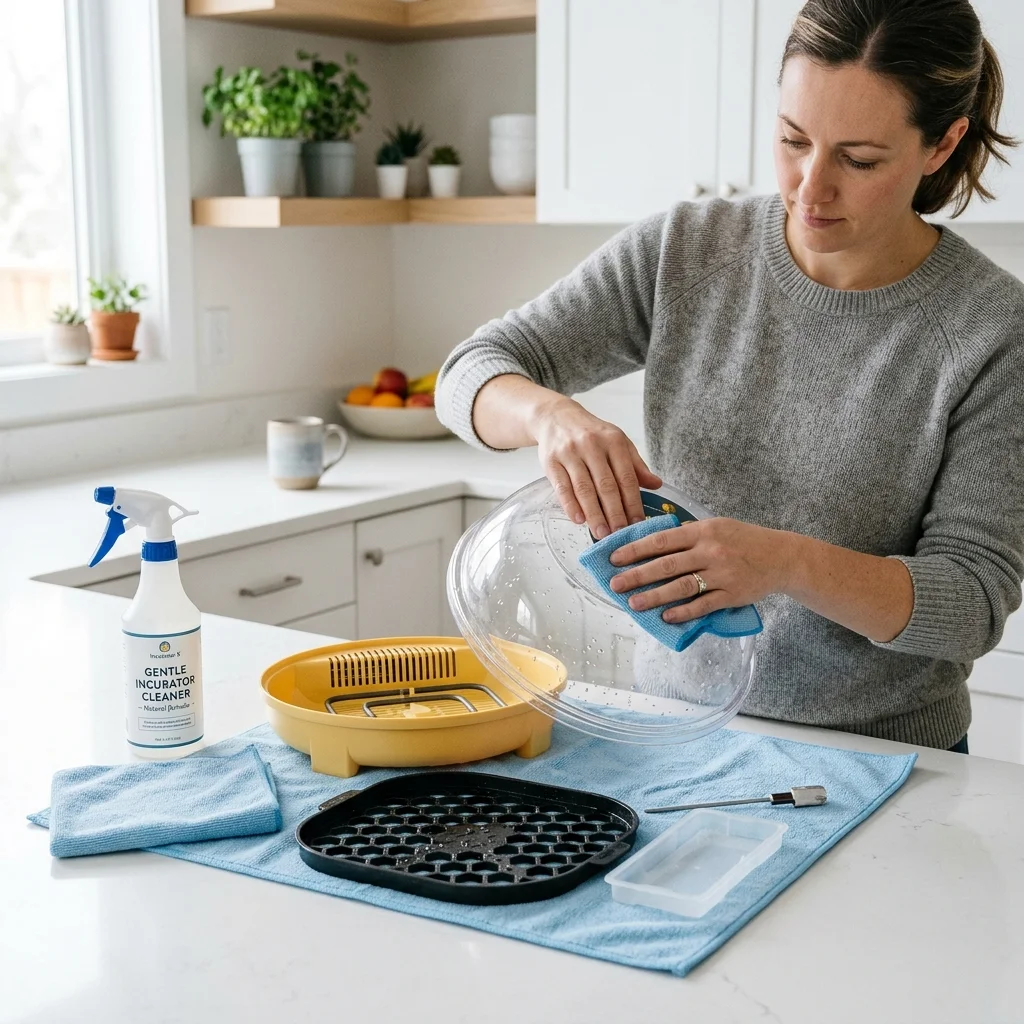
To clean and store your incubator, unplug the machine immediately after the hatch and disassemble all removable parts. Brush out loose eggshells and chick down, then wash plastic trays and bases with warm water and soap. Disinfect all surfaces using a 10% bleach solution or a veterinary disinfectant (such as Virkon or F10), taking extreme care to only wipe—never submerge—electrical lids or motors. Allow every component to air-dry completely for 24 to 48 hours to prevent mold before storing the unit in a dry, indoor space inside its original box. Failing to sanitize immediately after a hatch allows bacteria to colonize the plastic pores, contaminating future sets.
What matters most
What this page helps you decide
This guide is for poultry keepers who have just completed a hatch. The decision is how to thoroughly clean, sanitize, and store your equipment to protect future sets. Sanitizing immediately after a hatch is critical; the high heat and humidity of incubation combined with organic hatch waste create a perfect breeding ground for bacteria like Salmonella, E. coli, and Pseudomonas.
- Clean immediately after chicks are moved to the brooder while waste is still soft.
- Do not store a damp incubator, which will grow mold and damage sensors.
- Avoid scrubbing plastic with wire brushes or harsh abrasives that scratch surfaces.
The Post-Hatch Sanitizing Protocol
Hatch waste contains shell fragments, membranes, and chick down (dander) which carry bacteria. Disassemble the incubator completely, removing turner rails, trays, and floor liners. Wipe all electrical components with a damp disinfectant cloth, but never wash or submerge them.
- Unplug the incubator before cleaning to prevent electrical shock or damage.
- Use a soft brush or vacuum to remove loose chick down, dust, and eggshell pieces.
- Wash plastic trays and bottom reservoirs with warm soapy water using a sponge.
- Apply a veterinary disinfectant or 10% bleach solution and let sit for 10 minutes before rinsing.
Safe Care for Electrical Lids and Fans
The incubator lid usually houses the heating element, fan, and thermostat. These electronics cannot be washed. Use a dry brush or compressed air to remove chick down from the fan guard and heating chamber.
- Blow out dust from the fan motor vents using canned compressed air.
- Wipe the outer plastic housing of the lid with a cloth lightly dampened with disinfectant.
- Never let liquid seep into the sensor probes or control board vents.
- Check the fan blades for build-up, which can slow down airflow and cause uneven heat.
Air Drying and Storage Prep
Moisture is the primary enemy of stored electronics and plastics. Even a small drop of trapped water in a humidity channel can cause mold to bloom or corrode electrical contacts during storage.
- Leave all clean components separated in a warm, dry room for at least 24–48 hours.
- Run the incubator dry (without water) for 2 hours before packing it away to ensure internal vents dry out.
- Wrap cords loosely; do not bend them sharply, which can damage copper wire.
- Store in a dry, temperature-stable indoor closet inside a sealed box to keep out dust and pests.
Reviewed against extension and veterinary sources. Adjust to your incubator manual and local conditions.