
How To Store Hatching Eggs
Storage time, temperature, humidity, turning, and handling before incubation.
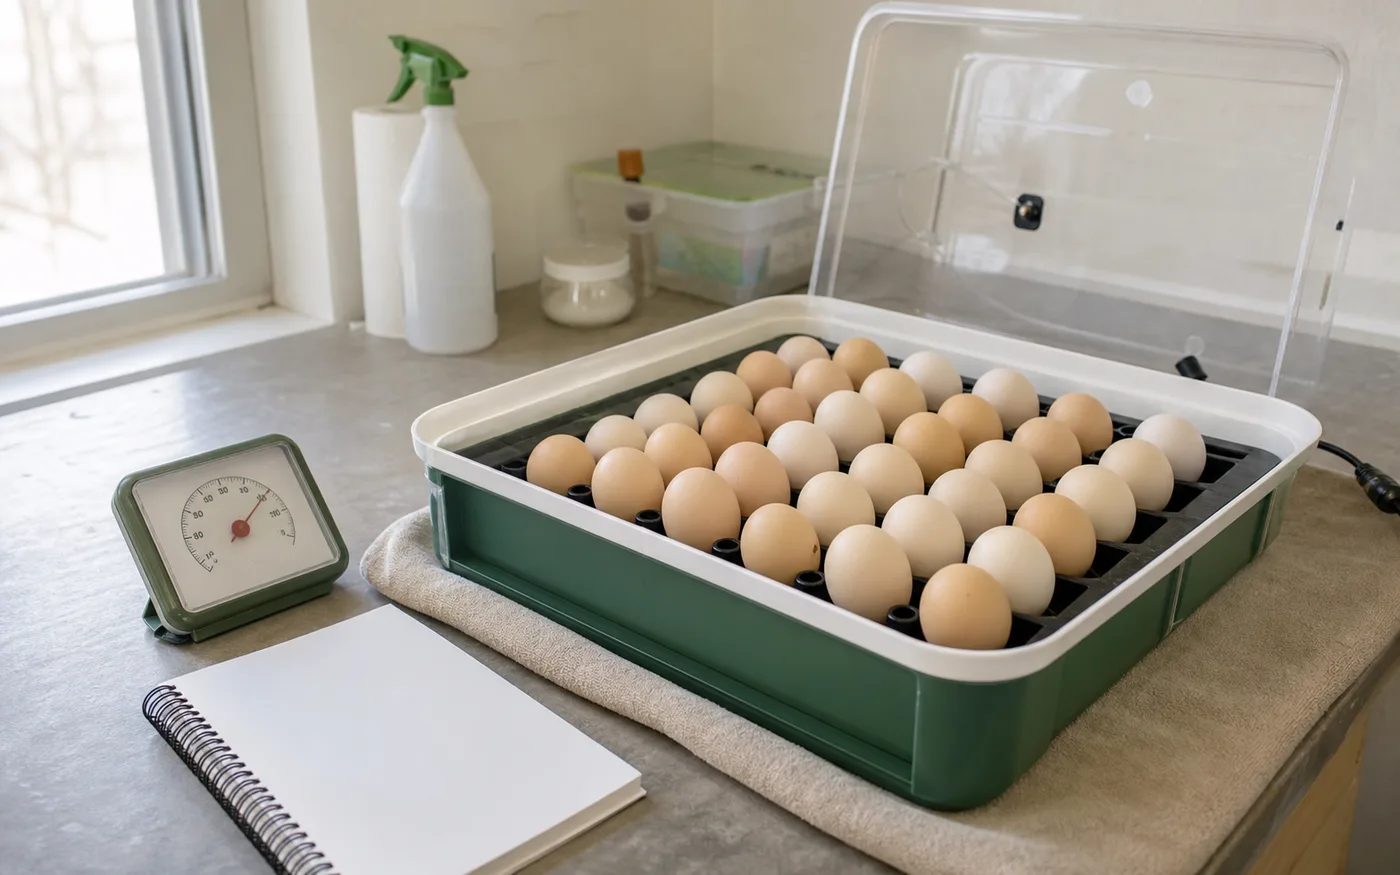
Show the dated plan before eggs are set.
The waiting period before incubation, when eggs look inactive but still need careful handling.
Start A Hatch PlanQuick Answer
Store hatching eggs cool, steady, clean, and gently before setting. The goal is to keep the egg viable without starting incubation early or letting it dry, overheat, or get shaken around. Fresher eggs usually give the best starting odds, so plan the set date before storage drags on. Keep eggs away from direct sun, household heat, strong odors, dirt, and repeated handling. Mark shipped or older eggs separately so you can judge them more carefully at candling and final review.
What matters most
What this page helps you decide
Use this guide when you have fertile eggs waiting for a set date and need to know whether to hold them, set them now, or reject some before they reach the incubator. Storage is not just waiting; it is part of the hatch result.
- Set soon if the incubator is ready and the eggs are fresh.
- Delay only if the incubator, room, or hatch plan is not ready.
- Reject eggs with cracks, leaks, heavy contamination, or obvious shell problems.
Storage is not a pause button
A stored hatching egg is not developing like it will in the incubator, but it is still living material. Heat, drying, dirt, and vibration can reduce the chance that a healthy embryo starts well.
- Avoid direct sun, appliances, heaters, and vehicles that warm up during the day.
- Do not move eggs repeatedly just to check on them.
- Keep storage notes if eggs are held longer than planned.
Choose the set date before eggs get old
For small flocks, it is tempting to wait until the tray is full. That can work, but older eggs usually deserve lower expectations than fresh eggs from a known flock. The better decision is often to set a smaller group of better eggs instead of waiting too long for a full tray.
- Group eggs by collection date when you can.
- Use the oldest acceptable eggs first if you are planning multiple batches.
- Do not let tray capacity decide the hatch date by itself.
Keep temperature steady before incubation
Storage should not be warm enough to start development and then stop it again. It also should not swing wildly between cold and warm rooms. A steady, cool storage place protects the egg better than a convenient counter with sun, oven heat, or daily household changes.
- Pick one storage location and leave the eggs there.
- Avoid windows, laundry rooms, garages with big swings, and warm kitchen spots.
- Let eggs warm gradually before setting if they were stored cool, so condensation is less likely.
Protect the air cell
The air cell is part of the chick’s final breathing transition. Rough handling and poor storage can disturb what should become a stable air space by hatch time.
- Store eggs large end up when practical.
- Avoid shaking or repeated transport.
- Mark shipped or questionable eggs so they can be watched more closely at candling.
Plan the set date around egg age
For small flocks, it is tempting to wait until the tray is full. That can work, but older eggs usually deserve a more cautious expectation than fresh eggs from a known flock.
- Set fresher eggs first when possible.
- Avoid waiting for a full tray if the earliest eggs are aging out.
- Record egg age so final results are easier to interpret.
Do not clean eggs into a bigger problem
Hatching eggs have a protective shell surface. Heavy contamination is a reason to question the egg, not a reason to scrub every egg until it looks perfect. Clean-looking eggs should usually be handled gently and kept dry.
- Do not wash clean eggs just for appearance.
- Avoid setting heavily soiled eggs when cleaner eggs are available.
- Handle eggs with clean hands and clean trays.
Handle shipped eggs as a separate group
Shipped eggs may have been exposed to vibration, temperature changes, delays, and rough handling before you see them. They can still hatch, but they should be logged separately so you do not confuse shipping damage with incubator performance.
- Inspect the box and eggs on arrival before discarding packaging notes.
- Mark shipped eggs in the hatch log or on the tray map.
- Compare shipped eggs and local eggs separately at candling and final hatch review.
Record storage details before day 1
Storage notes are most useful when the hatch result is confusing later. Egg age, source, room, shipping condition, and rejected eggs help separate fertility, storage, handling, and incubator issues.
- Record collection or arrival date, source, and set date.
- Note cracked, dirty, unusually shaped, or damaged eggs you rejected.
- Write down whether the eggs were shipped, local, or from your own flock.
Reviewed against extension and veterinary sources. Adjust to your incubator manual and local conditions.