
Before You Set Eggs
A complete pre-set checklist for testing the incubator, choosing eggs, planning dates, and avoiding problems before day 1.
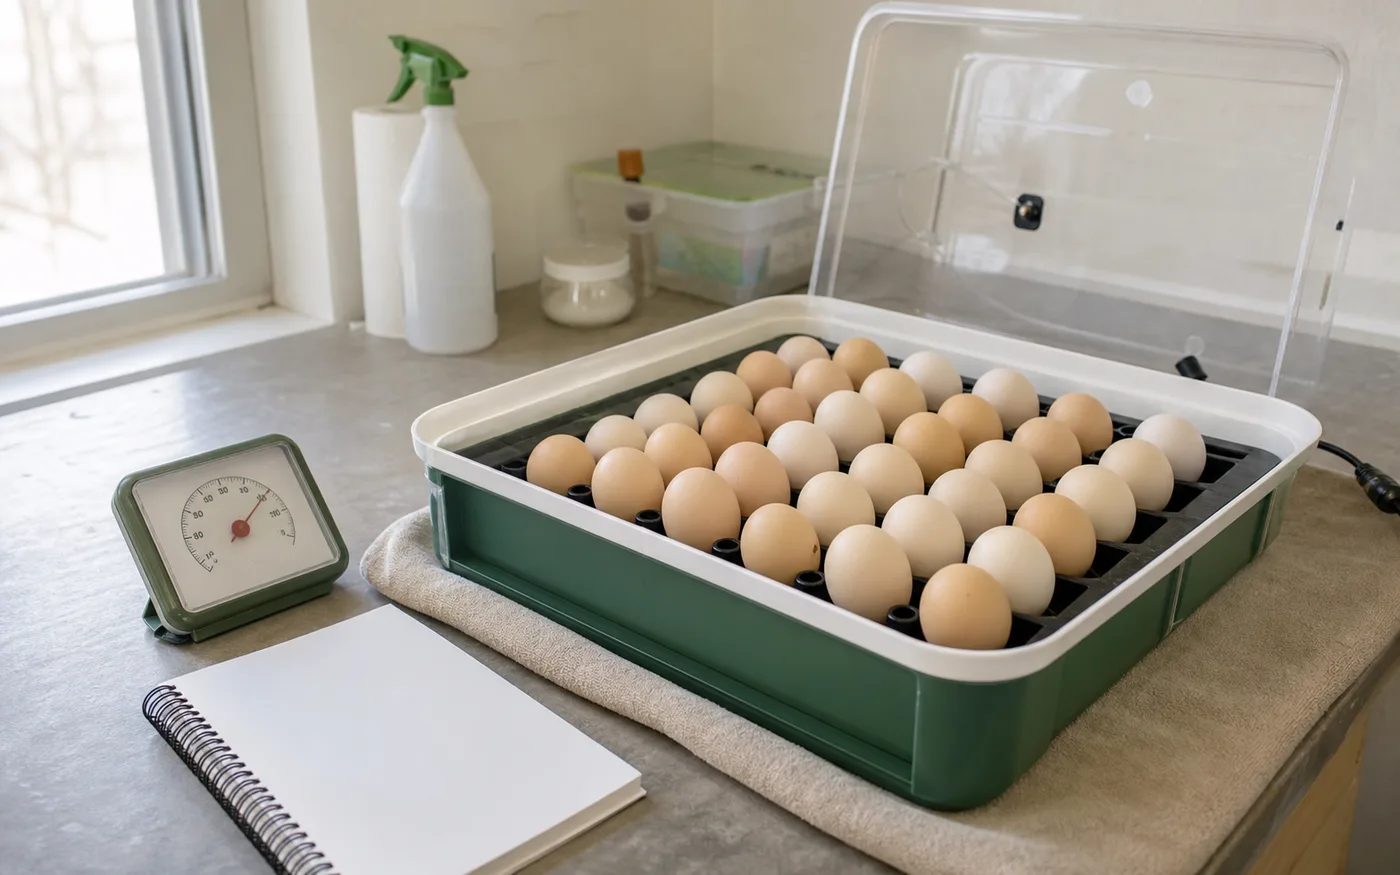
Show the dated plan before eggs are set.
The planning stage before day 1, when the safest fixes are still easy: test the machine, inspect the eggs, choose the room, and build the hatch plan.
Calculate Hatch DatesQuick Answer
Before you set eggs, confirm that the incubator can hold stable conditions in the room where it will run, then choose clean, sound, normally shaped eggs from a source you trust. Write down the set date, expected candling dates, lockdown date, and hatch window before day 1 starts. Do not use the first day of incubation to discover a bad thermometer, a failing turner, a drafty room, or a brooder that is not ready. This stage is where you prevent many of the problems people later call mysterious hatch failure.
What matters most
What this page helps you decide
Use this checklist when you have eggs coming soon, eggs already stored, or a new incubator you have not trusted through a full hatch yet. The decision is simple: are the machine, eggs, room, calendar, and brooder ready enough to start, or should you fix something before day 1?
- Start now if conditions are stable and the eggs are still within a sensible storage window.
- Delay if the incubator cannot settle, the room swings badly, the eggs are questionable, or the brooder plan is missing.
- Reject problem eggs before set day instead of trying to save the hatch later with extra adjustments.
Run the incubator empty first
An empty test run tells you whether the incubator, room, thermometer, fan, turner, vents, and water system behave predictably before embryos are at risk. Run the incubator in the exact room where it will stay during incubation, not in a temporary spot that has different sunlight, drafts, or temperature swings.
- Place the incubator away from direct sun, drafts, and heater vents.
- Confirm the fan, automatic turner, water channels, lid fit, vents, and display all work.
- Check readings at egg level when possible, especially in still-air incubators.
- Watch the pattern instead of chasing every tiny swing; the concern is prolonged high or low conditions.
Know the key starting numbers
The exact target can vary by incubator type, species, and manufacturer, but the setup should be close before eggs go in. For chicken eggs, common extension guidance centers around roughly 99.5 to 100 F in forced-air incubators, higher thermometer placement rules for still-air machines, moderate incubation humidity, and lockdown around day 18.
- Chicken incubation is usually planned as a 21-day hatch.
- Many home guides use about 99.5 F for artificial incubation, with incubator type affecting how readings should be taken.
- Humidity should be managed as a moisture-loss pattern, not only as a number on a display.
- Turning should be planned from set day until lockdown, then stopped so chicks can position for hatch.
Choose eggs that give the embryo a fair start
The egg is the chick's first room. Cracks, heavy dirt, odd shapes, rough handling, old storage, and unknown fertility all make the hatch harder before incubation begins. It is better to set fewer good eggs than to fill the tray with eggs that already carry obvious risk.
- Avoid cracked, leaking, very dirty, very small, very large, or badly misshapen eggs.
- Do not wash clean-looking hatching eggs just to make them look nicer.
- Store eggs gently with the large end up or slightly elevated when practical.
- Keep shipped eggs marked separately so their air cells and development can be watched more carefully.
Check the source, especially for US buyers
For a US audience, egg source matters because disease-prevention and interstate movement are part of the real poultry market. If you buy hatching eggs or chicks, prefer reputable sellers and look for NPIP context where it applies. NPIP does not guarantee every hatch outcome, but it is an important US trust signal around breeding flocks, hatcheries, baby poultry, and hatching eggs.
- Know whether the eggs are from your own flock, a local breeder, or a shipped order.
- Avoid assuming grocery-store eggs will hatch; they are usually not fertile and are stored for eating, not incubation.
- For shipped eggs, inspect on arrival, note damage, and let the eggs settle before setting when appropriate.
Write the hatch plan before day 1
A written hatch plan reduces panic later. Once the set date is recorded, candling, lockdown, hatch window, and result review all become easier to follow. The plan should be visible enough that you are not relying on memory during lockdown or hatch day.
- Record species, set date, egg count, egg source, incubator model, and room location.
- Calculate first candling, lockdown, expected hatch, and final review dates.
- Write the target temperature and humidity range you intend to follow for this species and incubator type.
- Note how you will handle power outages before a storm or heat wave forces the question.
Prepare the brooder before hatch week
The brooder does not need to run on day 1, but the plan should exist before the eggs are set. A hatch that goes well can still become stressful if there is no warm, clean, draft-free place for dry chicks to move after hatch.
- Choose the brooder location, heat source, bedding, chick waterer, and starter feed before lockdown.
- Make sure pets, children, drafts, and slick flooring are accounted for.
- Keep cleaning supplies ready for the incubator after the hatch is finished.
Common mistakes before setting eggs
Most pre-set mistakes come from rushing. The user wants day 1 to start, so they ignore a questionable reading, a dirty egg, an untested turner, or a missing brooder. Those decisions are easier to fix before eggs are warm than after development has started.
- Trusting only the built-in display on a new or untested incubator.
- Setting cracked or heavily soiled eggs because tray space is available.
- Starting the hatch in a room with sun, drafts, or large day-night temperature swings.
- Forgetting to write down the set date and then guessing the lockdown date later.
What to record in the hatch log
Before day 1, record the facts that will help you understand the hatch later. If the hatch is strong, these notes show what worked. If the hatch is poor, they help separate fertility, storage, machine setup, outage, and brooder issues.
- Egg source, egg count, species, set date, and expected hatch date.
- Incubator type, thermometer or hygrometer check, and room location.
- Any shipped-egg damage, dirty eggs rejected, or eggs stored longer than planned.
- Backup power plan and brooder readiness notes.
Reviewed against extension and veterinary sources. Adjust to your incubator manual and local conditions.