
Air Cell Too Big Or Too Small
Use air-cell size as a practical signal for moisture loss and humidity review.
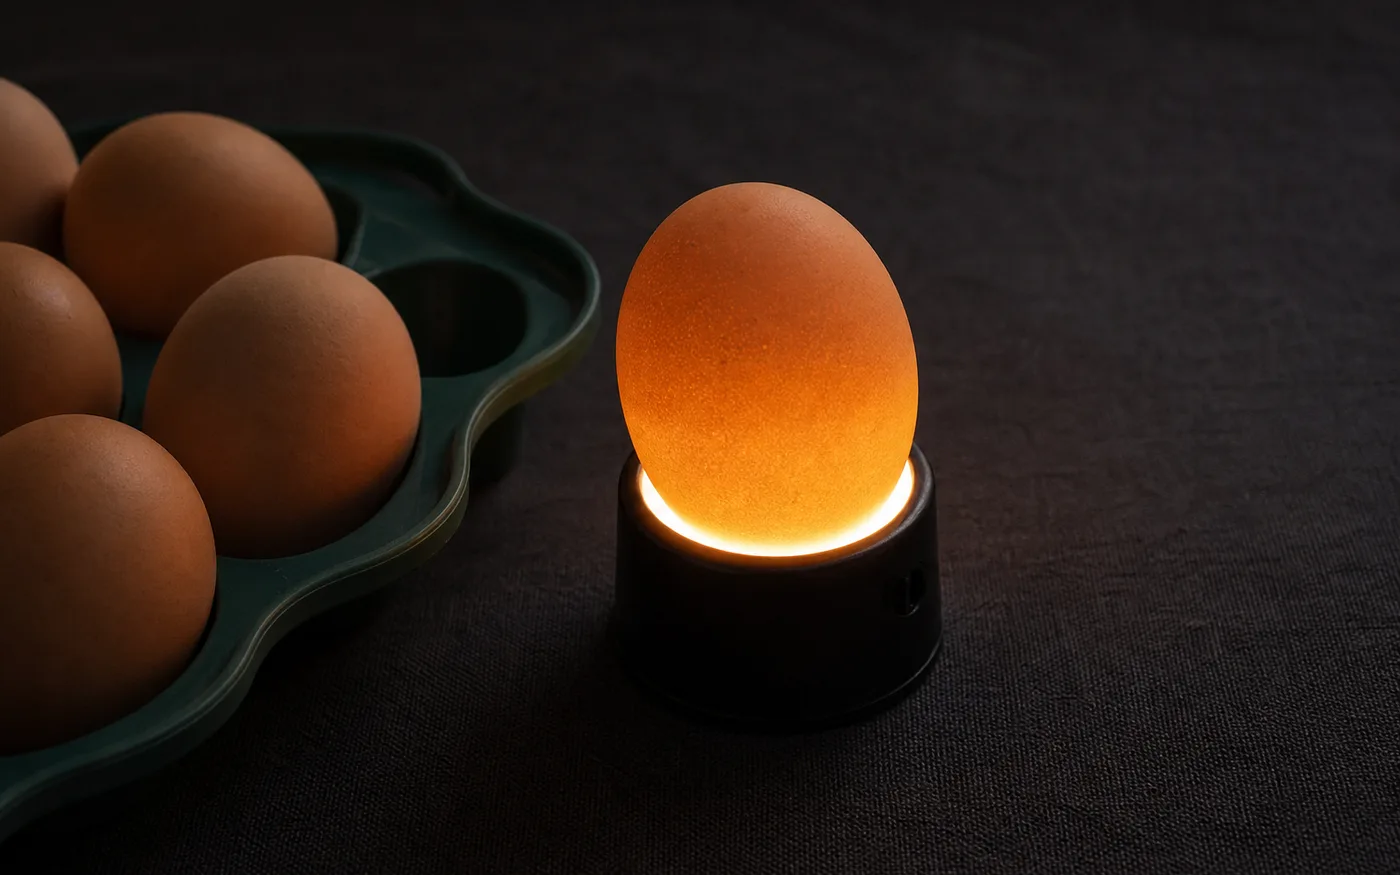
Show observation through the shell without graphic detail.
Candling turns humidity from a setting into something you can see inside the egg.
Use Weight-Loss TrackerQuick Answer
A very large air cell usually suggests too much moisture loss; a very small air cell usually suggests too little. Confirm the pattern across multiple eggs before changing humidity. Check the average air cell size across the entire batch at Day 7, 14, and 18, and adjust incubation humidity by 5% RH increments to correct the trend.
What matters most
What this page helps you decide
This candling diagnostic page helps you decide how to adjust your incubator's humidity settings based on visual air cell sizes. The decision is choosing between raising the relative humidity to slow moisture loss, lowering relative humidity to increase moisture loss, or keeping parameters unchanged.
- Choose to raise incubator humidity if most air cells are larger than the standard target for the current day.
- Choose to lower incubator humidity if most air cells are smaller than the standard target for the current day.
- Do not adjust humidity based on a single egg; thin shells naturally lose water faster.
Target Air Cell Sizes by Incubation Day
As a chicken egg incubates, water vapor evaporates through thousands of microscopic shell pores, expanding the air cell at the large end. Use these volumetric targets to guide your evaluations:
- Day 7 Target: The air cell should occupy approximately 10% of the internal egg volume.
- Day 14 Target: The air cell should expand to occupy approximately 15% of the internal egg volume.
- Day 18 Target: The air cell should occupy approximately 20% of the internal egg volume (about 1/3 of the egg).
- Egg Weight Method: Alternatively, weigh eggs at set time. By Day 18, the egg should have lost 11%–14% of its starting weight.
Step-by-Step Humidity Correction Path
If your candling check reveals a mismatch between the air cells and the incubation day, follow this adjustment protocol:
- Step 1: Check air cell lines on at least 5 different eggs in a completely dark room using a high-intensity candler.
- Step 2: Trace the air cell boundaries gently with a pencil to record progress.
- Step 3: Determine the average deviation. If air cells are too small, lower relative humidity settings by 5% RH. If air cells are too big, raise relative humidity by 5% RH.
- Step 4: Keep incubator ventilation holes at least 50% open to facilitate gas exchange; never close vents fully to raise humidity.
- Step 5: Re-candle the marked eggs in 3–4 days to verify the new rate of air cell growth.
Common Mistakes and Parameters to Log
Avoid chasing daily humidity fluctuations and focus on long-term trends by keeping precise notes.
- Mistake: Relying on cheap, uncalibrated hygrometers without using the egg's air cell as a biological guide.
- Mistake: Making massive humidity corrections (e.g., jumping from 40% to 65% RH mid-incubation), which shocks the embryo.
- Parameter to Log: The date and incubation day (7, 14, or 18) of the candling check.
- Parameter to Log: Average visual air cell size (Small, Normal, Large).
- Parameter to Log: Current relative humidity setting and room humidity.
Reviewed against extension and veterinary sources. Adjust to your incubator manual and local conditions.