
Poor Hatch Rate
A practical review path for separating fertility, storage, incubator settings, and hatch handling.
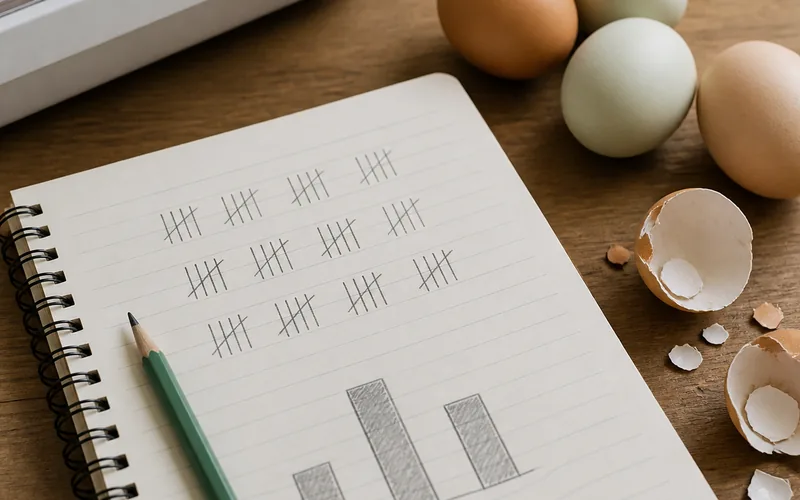
Show hatch review as numbers and learning, not judgment.
The hatch is over, the number is disappointing, and the useful work is sorting what actually happened.
Calculate Hatch RateQuick Answer
A poor hatch rate (below 75%) is rarely caused by a single factor. Group the failures: clear eggs (infertility or early death), blood rings (early quits), late dead-in-shell (humidity/turning issues), and dead-pipped (lockdown failures). Calibrate your instruments, check breeder nutrition, shorten storage times to under 7 days, and keep temperature stable at 99.5°F.
What matters most
What this page helps you decide
This post-hatch review page helps you decide how to improve your hatching results in subsequent sets. The decision is determining whether to modify breeder flock husbandry, alter pre-setting egg storage, adjust daily incubator settings, or repair/replace incubator hardware.
- Choose breeder flock adjustments if fertile egg percentages are below 85% of total set.
- Choose egg handling/storage changes if early quits are high despite stable incubator temperatures.
- Choose incubator parameter calibration if late-term deaths or sticky/shrink-wrapped chicks are common.
Incubation Audit: Flock, Storage, and Machine
A successful hatch requires coordination across three key phases: flock preparation, egg storage, and incubation. Use this checklist to audit your process:
- Breeder Flock: Ensure a ratio of 1 rooster for every 8–10 hens. Feed a high-quality breeder ration containing vitamin E, riboflavin, and calcium for at least 4 weeks before collecting eggs.
- Egg Storage: Keep collected eggs at 55°F–60°F (13°C–15°C) and 70%–75% RH. Store point-down and tilt them daily. Never set eggs older than 7–10 days.
- Incubator Placement: Place the incubator in a draft-free room with stable temperatures (70 F–75 F / 21 C–24 C). Ambient room swings are a leading cause of cheap incubator spikes.
- Instrument Calibration: Never trust built-in display numbers. Calibrate a secondary thermometer/hygrometer and place probes directly at the top of the egg level.
Step-by-Step Recovery Checklist
Follow these steps after a poor hatch to isolate the issue and prepare for your next set:
- Step 1: Perform a breakout analysis on all unhatched eggs to determine if losses occurred early, mid-term, or late.
- Step 2: Calculate the fertile hatch rate: (Chicks Hatched / Fertile Eggs) * 100.
- Step 3: Run the incubator empty for 48 hours to check for heating cycles, fan noise, or humidity controller drift.
- Step 4: Clean and disinfect the incubator using a veterinary-grade cleaner to eliminate bacteria.
- Step 5: Change only one parameter (e.g., lower average relative humidity by 5% RH) for the next test hatch.
Common Mistakes and Parameters to Log
Documenting incubation variables is your primary tool for moving from guesswork to reliable hatches.
- Mistake: Setting dirty, cracked, or excessively small eggs, which introduces bacteria or results in weak embryos.
- Mistake: Adjusting temperature up and down throughout the hatch based on hourly readings, causing thermal shock.
- Parameter to Log: Total eggs set, fertile count at Day 7, and final hatched count.
- Parameter to Log: Breeder flock feed type and flock age.
- Parameter to Log: Room temperature and humidity ranges during the 21 days.
Reviewed against extension and veterinary sources. Adjust to your incubator manual and local conditions.