
Why Eggs Did Not Hatch
A structured way to review clear eggs, early deaths, late deaths, and hatch conditions.
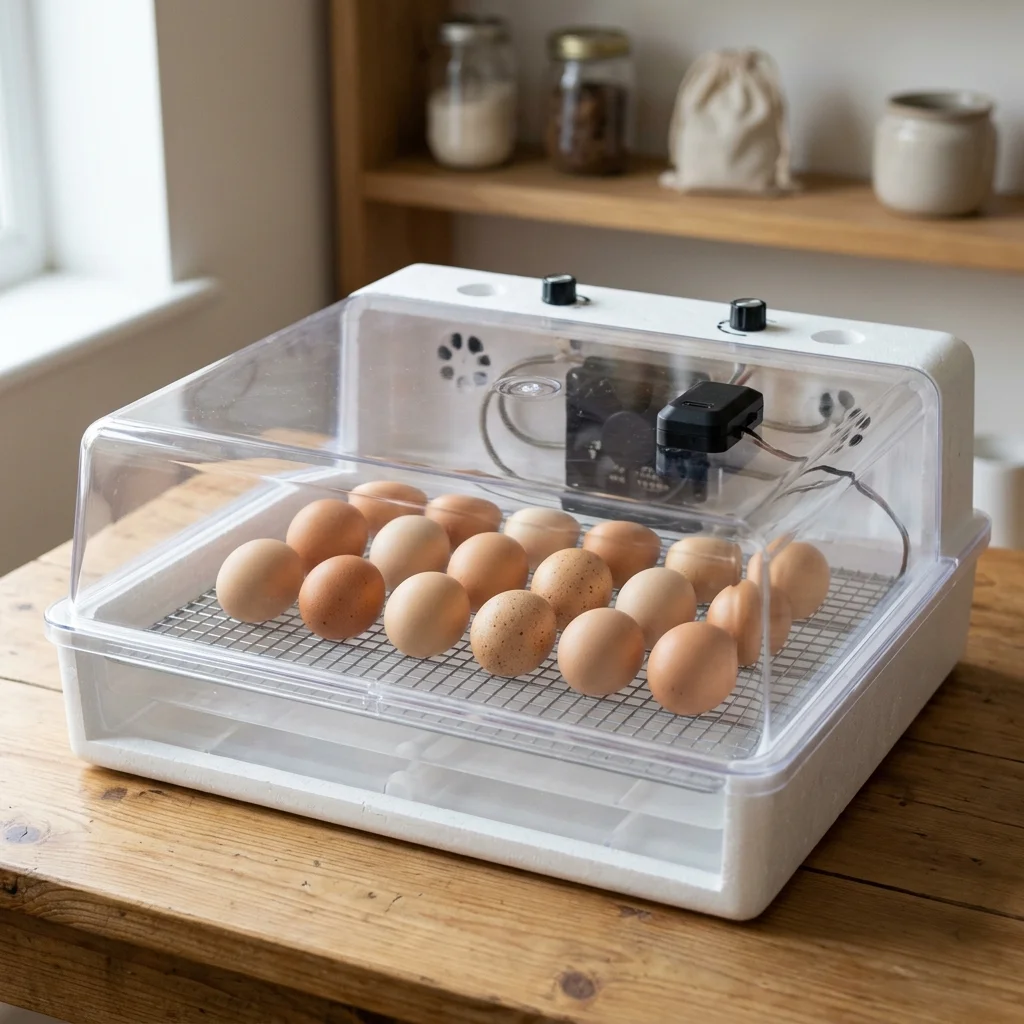
Show careful inspection before changing anything.
The review stage, when records turn a disappointing hatch into a better next setup.
Calculate Hatch RateQuick Answer
When eggs do not hatch, separate the problem into fertility, early development, late development, and hatch-window issues. Perform an egg autopsy (breakout analysis) on unhatched eggs to determine the exact stage of death. Clear eggs point to fertility or pre-incubation issues, while fully-formed dead chicks in shell point to lockdown humidity, ventilation, or late temperature spikes.
What matters most
What this page helps you decide
This diagnostic page helps you decide how to identify the cause of an unsuccessful hatch. The decision is choosing between adjusting breeder flock management, modifying pre-incubation storage protocols, or calibrating/troubleshooting incubator environmental settings.
- Choose breeder flock adjustments if candling shows high rates of completely infertile (clear) eggs.
- Choose pre-incubation storage modifications if you observe early embryo quits (blood rings) in fresh eggs.
- Choose incubator parameter calibration if unhatched eggs contain fully formed, late-stage dead embryos.
The Breakout Analysis (Egg Autopsy)
Performing a breakout analysis on unhatched eggs is the only way to obtain reliable diagnostic data. Wear gloves and use sterilized tweezers to open eggs at the large (air cell) end.
- Completely Clear: No development, no blood ring, yolk is intact. Indicates infertility, extremely old eggs, or severe shipping vibration.
- Early Quit (Days 1–7): Small dark spot or a thin ring of blood (blood ring) on the yolk. Points to storage above 70 F (21 C), incubator temperature shock, or severe shipping damage.
- Mid-Incubation Quit (Days 8–17): Embryo is partially formed with visible eyes, beak, and egg tooth, but no feathers. Suggests poor turning frequency, bacterial infection, or nutritional deficiencies in the breeder flock.
- Late-Incubation Quit (Days 18–21): Fully formed chick with feathers, head positioned under the wing. Points to inadequate weight loss (humidity too high), lack of oxygen (ventilation closed), or incubator overheating.
Step-by-Step Diagnostic Path
Follow this systematic troubleshooting path once your hatch has completed to identify the most probable failure points:
- Step 1: Calculate the overall hatch rate as a percentage of total eggs set, and also as a percentage of fertile-only eggs.
- Step 2: Tabulate the breakout analysis counts: number of clears, early quitters, mid-term quitters, and late-term dead-in-shell.
- Step 3: Check your incubator logs. Identify any daily temperature fluctuations larger than 1.0 F (0.5 C) or humidity drops during lockdown.
- Step 4: Audit egg age. Confirm if any eggs were stored longer than 7 days before setting.
- Step 5: Verify instrument calibration. Perform ice bath and salt tests on your secondary sensors.
Common Mistakes and Parameters to Log
Avoid changing all settings simultaneously, and always record key parameters to track improvement.
- Mistake: Adjusting the incubator temperature setting upwards when the real issue was a cheap thermometer reading 1.5 F too low.
- Mistake: Closing incubator ventilation holes to preserve humidity during lockdown, suffocating developing chicks.
- Parameter to Log: Total number of eggs set and source (local breeder vs shipped).
- Parameter to Log: Number of clear eggs removed at Day 7 or Day 14 candling.
- Parameter to Log: Position of embryos in late dead-in-shell eggs (head under right wing vs small end of egg).
Reviewed against extension and veterinary sources. Adjust to your incubator manual and local conditions.