
Best Egg Incubators For Beginners
A beginner's buying guide focused on choosing a stable, easy-to-clean incubator that prevents common mistakes.
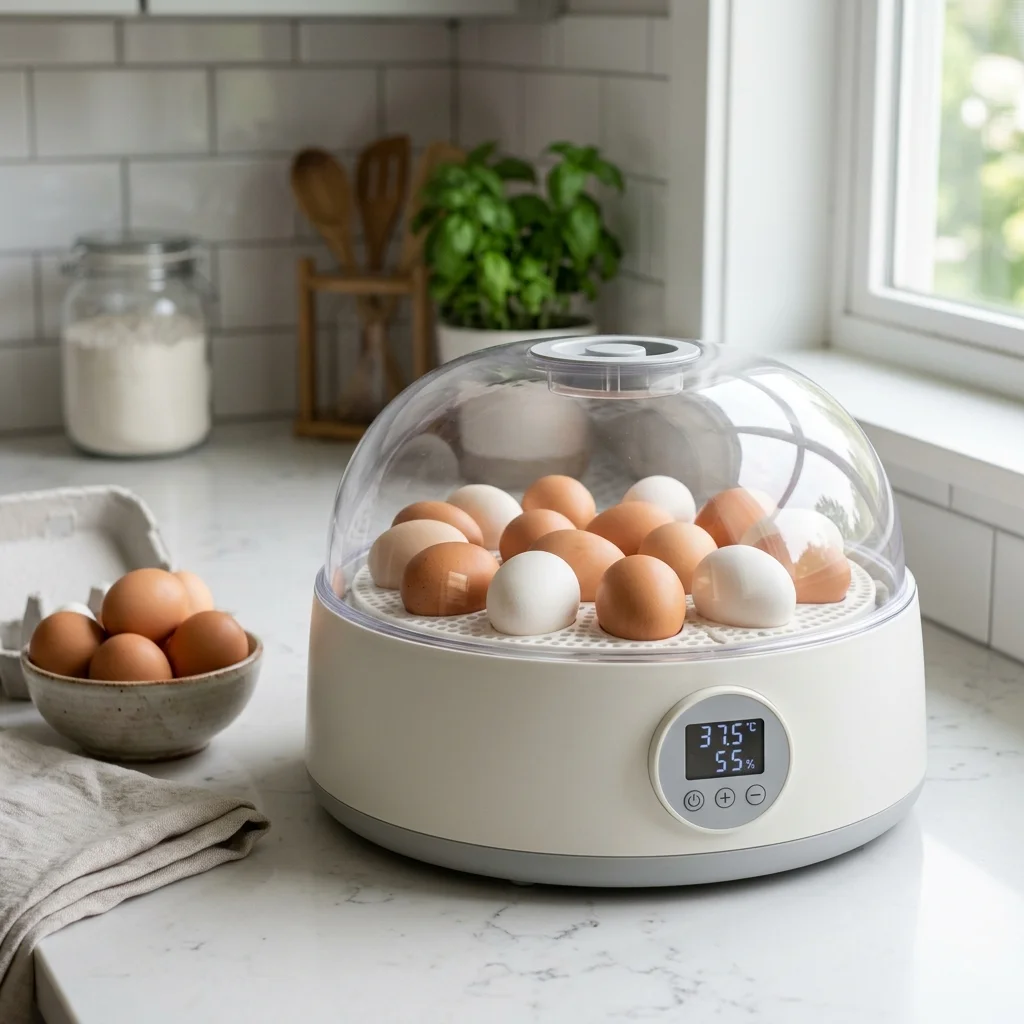
Show readiness, setup, and maintenance.
Before the first hatch, when choosing a machine decides how much daily friction the user will face.
Run Pre-Season CheckQuick Answer
Beginners should choose a tabletop incubator with a transparent lid for 360-degree visibility, a reliable digital PID temperature controller, and external water channels to adjust humidity without opening the chamber. Avoid cheap, unbranded generic incubators, as their sensors often drift, causing early embryonic death. Look for models with a capacity of 12 to 24 eggs from trusted brands like Brinsea, Nurture Right, or Kebonnixs, which offer reliable customer support and replacement parts.
What matters most
What this page helps you decide
Use this buying guide if you are selecting your first incubator. The decision is choosing a machine that holds stable conditions and minimizes manual intervention. A good beginner machine should reduce the friction of daily monitoring so you can focus on learning developmental stages.
- Choose a tabletop model (12–24 egg capacity) if you are starting a small backyard flock or classroom hatch.
- Avoid high-capacity cabinet systems which are expensive, heavy, and add excessive management load.
- Prioritize transparent viewing domes over aesthetic layout panels, as monitoring hatch day is crucial.
Temperature Stability is the Non-Negotiable
Embryos are highly sensitive to temperature variations. A drop in temperature slows development, but a temperature spike above 102 F can kill embryos within hours. Choose an incubator with a digital thermostat that regulates heat dynamically rather than basic on/off heaters.
- Look for proportional-integral-derivative (PID) controllers that adjust heat output smoothly.
- Avoid uncalibrated analog dial heaters which fluctuate wildly when room temperature changes.
- Verify that the heating element is paired with a fan (forced-air) to prevent hot spots in the incubator.
Humidity Control Without Opening the Lid
Opening the incubator lid releases warm, humid air, which can cause humidity drops and dry out egg membranes. Look for models that feature external water fill ports so you can top up reservoirs without opening the lid.
- External ports let you add water safely, especially during the critical lockdown phase.
- Look for clear water level indicators or transparent reservoirs.
- Choose models with segregated water channels to easily adjust surface area and humidity levels.
Capacity and Daily Cleanup
Hatching is messy. Shells, blood, membranes, and chick down get into every corner of the incubator. Choose a machine with a simple, removable bottom tray that can be washed and sanitized.
- Tabletop incubators of 12–24 eggs are easy to clean in a domestic sink.
- Ensure electronic components are sealed and isolated from the wet incubation area.
- Avoid complex designs with deep crevices that trap bacteria and are hard to scrub.
Reviewed against extension and veterinary sources. Adjust to your incubator manual and local conditions.