Forced-Air Vs Still-Air Incubators
How airflow changes temperature reading, thermometer placement, and beginner setup.
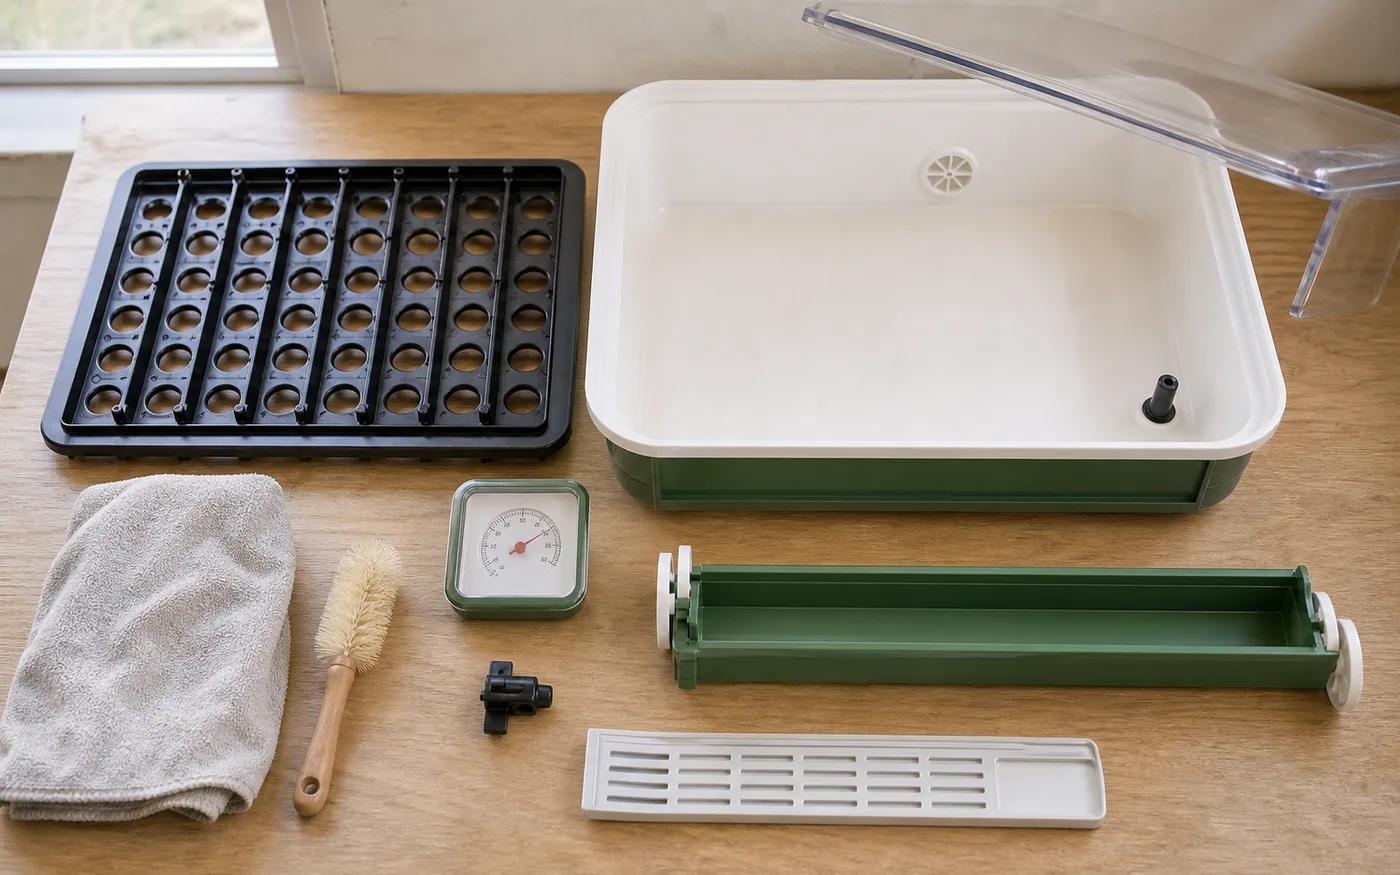
Show readiness, setup, and maintenance.
Before blaming a hatch, make sure the incubator type is being measured the right way.
Run Pre-Season CheckQuick Answer
Forced-air incubators use a fan to even out temperature. Still-air incubators have more temperature layering, so thermometer height and egg position matter more.
What matters most
The same number may not mean the same condition
A fan helps move heat around the cabinet. Without a fan, warm air rises and the top of the egg can be warmer than lower areas. That is why still-air instructions often focus on thermometer height.
Place the thermometer where the egg feels the heat
For a still-air incubator, a thermometer sitting too low can make the incubator look cooler than the eggs actually are. For a forced-air model, avoid placing the probe directly in a fan blast, water tray, or corner pocket.
Use empty test runs to learn the machine
Run the incubator before setting eggs. Watch how temperature changes after adding water, opening vents, or changing room conditions. A simple test run prevents many beginner mistakes.
Reviewed against extension and veterinary sources. Adjust to your incubator manual and local conditions.